Thoughts & Musings
Importing PostgreSQL data into ClickHouse Cloud
Working at ClickHouse, I often find myself needing to insert data into cloud services to test user flows, reproduce bugs, or compare experiences. Although there is plenty of dummy data available on the web, I prefer using meaningful, real-world datasets.
In this post, I will create a copy of the production database for my iOS app, Fight Scores, insert it into a ClickHouse Cloud Service, and execute a few basic queries. I actually do this fairly regularly, as querying ClickHouse is orders of magnitude faster than Postgres, even at my small scale.
Here's a breakdown of the steps I'll take:
- Connect to the production database and copy the fights table into a CSV file
- Move that CSV file to my local disk
- Upload file to ClickHouse Cloud
- Query the dataset in the built-in SQL console
1. Connect to the production database and copy the fights table
I'd like to take advantage of the simple file uploading capabilities of ClickHouse Cloud, so my data should be in either JSON or CSV format. To achieve this, I'll need to connect to the database and export the fights table into a CSV file.
As my production database is housed on an external Linode server, the first thing I'll need to do is SSH in.
SSH <MYUSER>@<MY_SERVER_IP>
Once authenticated, I can now connect to the production database using the PostgreSQL command line utility.
psql -U <MYDBUSER> <PRODUCTION_DB_NAME>
Running \dt will give me a list of the tables in this database.
                    List of relations
 Schema |              Name              | Type  | Owner
--------+--------------------------------+-------+--------
 ...
 public | boxers                         | table | <MYDBUSER>
 public | classics                       | table | <MYDBUSER>
 public | fights                         | table | <MYDBUSER>
 public | recommendations                | table | <MYDBUSER>
 ...
(12 rows)
As mentioned, the table I'd like to insert into ClickHouse Cloud is fights, so I'll need to copy it as a CSV. For now, I'll save it to the home directory of my Linode server. To do this I run the following command:
\COPY fights TO '/home/gareth/fights.csv' DELIMITER ',' CSV HEADER;
2. Move CSV file to my local disk
Splendid, I now have a CSV file containing every fight ever created in Fight Scores, just over 34,000, but it's still on my Linode server and to upload it to ClickHouse Cloud I'll need to have it stored locally. No problem, this can be achieved by running this simple command.
scp <MYUSER>@<MY_SERVER_IP>:/home/gareth/fights.csv ~/Desktop/
As you can probably guess, this connects to the Linode server and copies the file to my local desktop.
3. Upload CSV file to ClickHouse Cloud
OK, that was a lot of work just to create a CSV file, but don't worry, it gets easier for here on out.
Head over to ClickHouse.com and hit the Get Started button in top right. To create a ClickHouse Cloud account, you'll be asked for your email and password. ClickHouse Cloud has a 30-day free trial so no need to provide payment details.
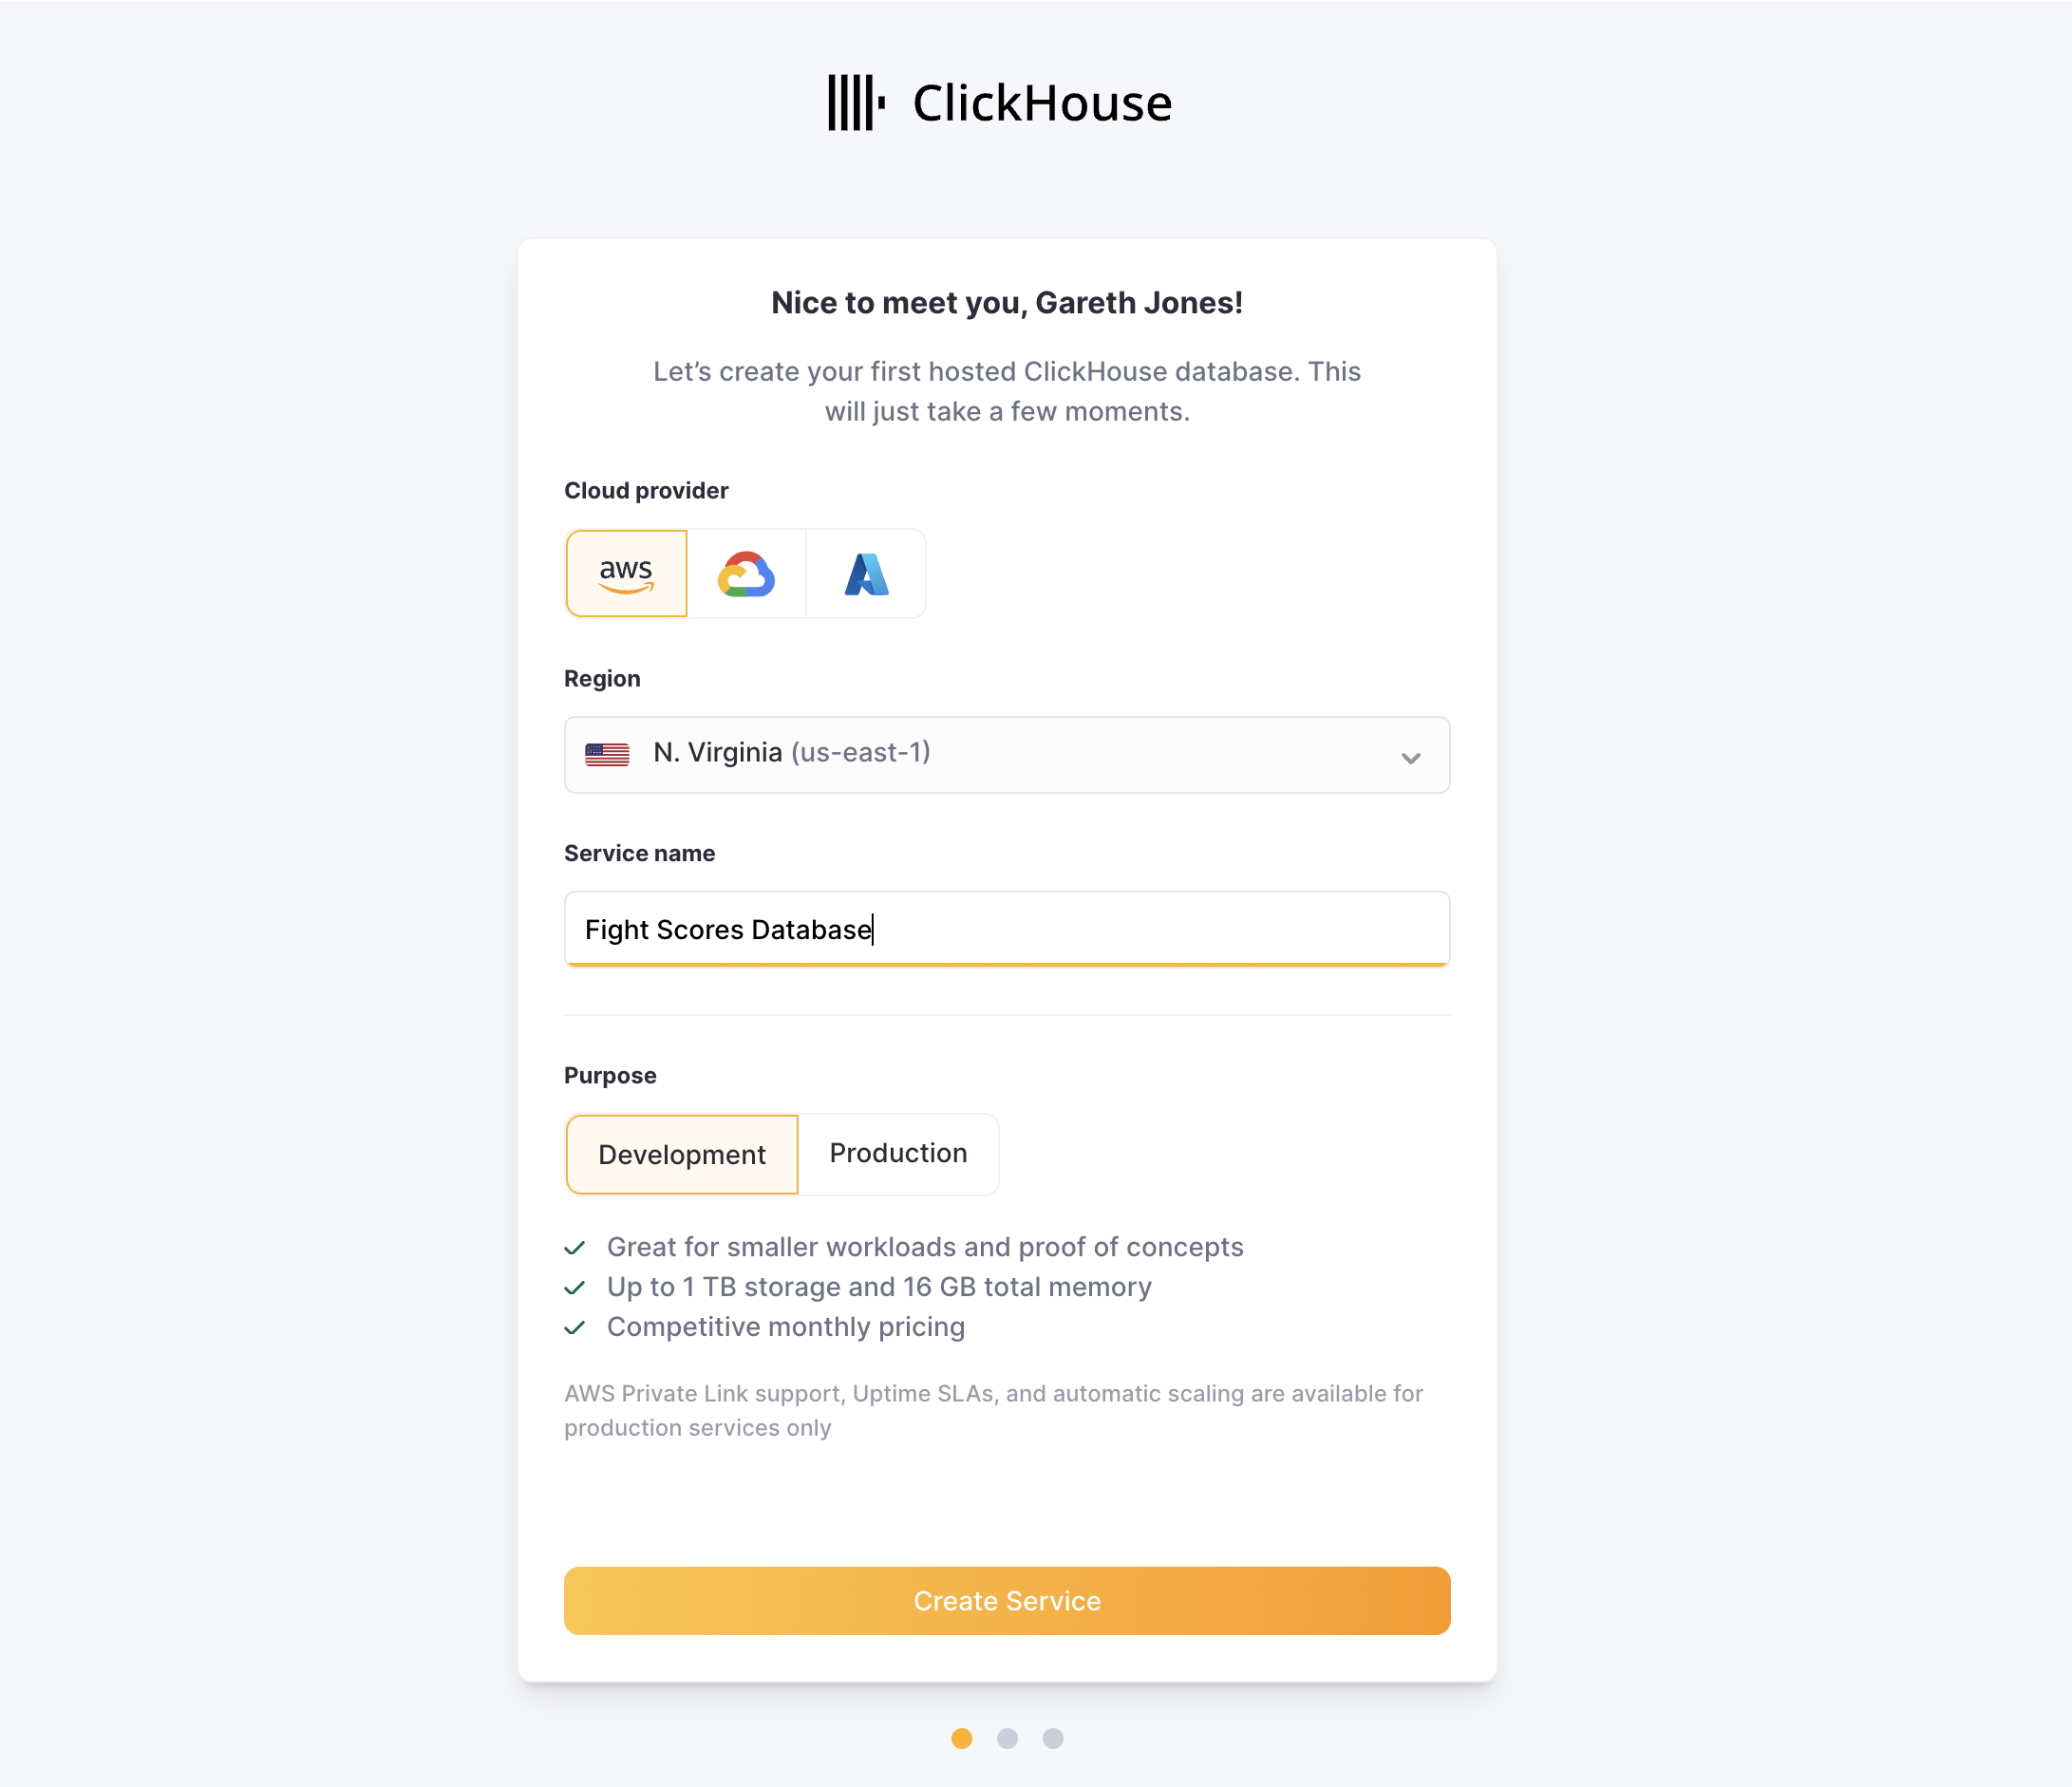
Once you've confirmed your email address you'll be asked to create your service, I'll call mine Fight Scores database and set it up in US-East, which is the closest AWS region to my home in North Carolina. Next I'll be asked where I wish to allow traffic to this service from, as this is a demo service, I'll allow traffic from anywhere but for my real services, I only allow traffic from trusted IPs.
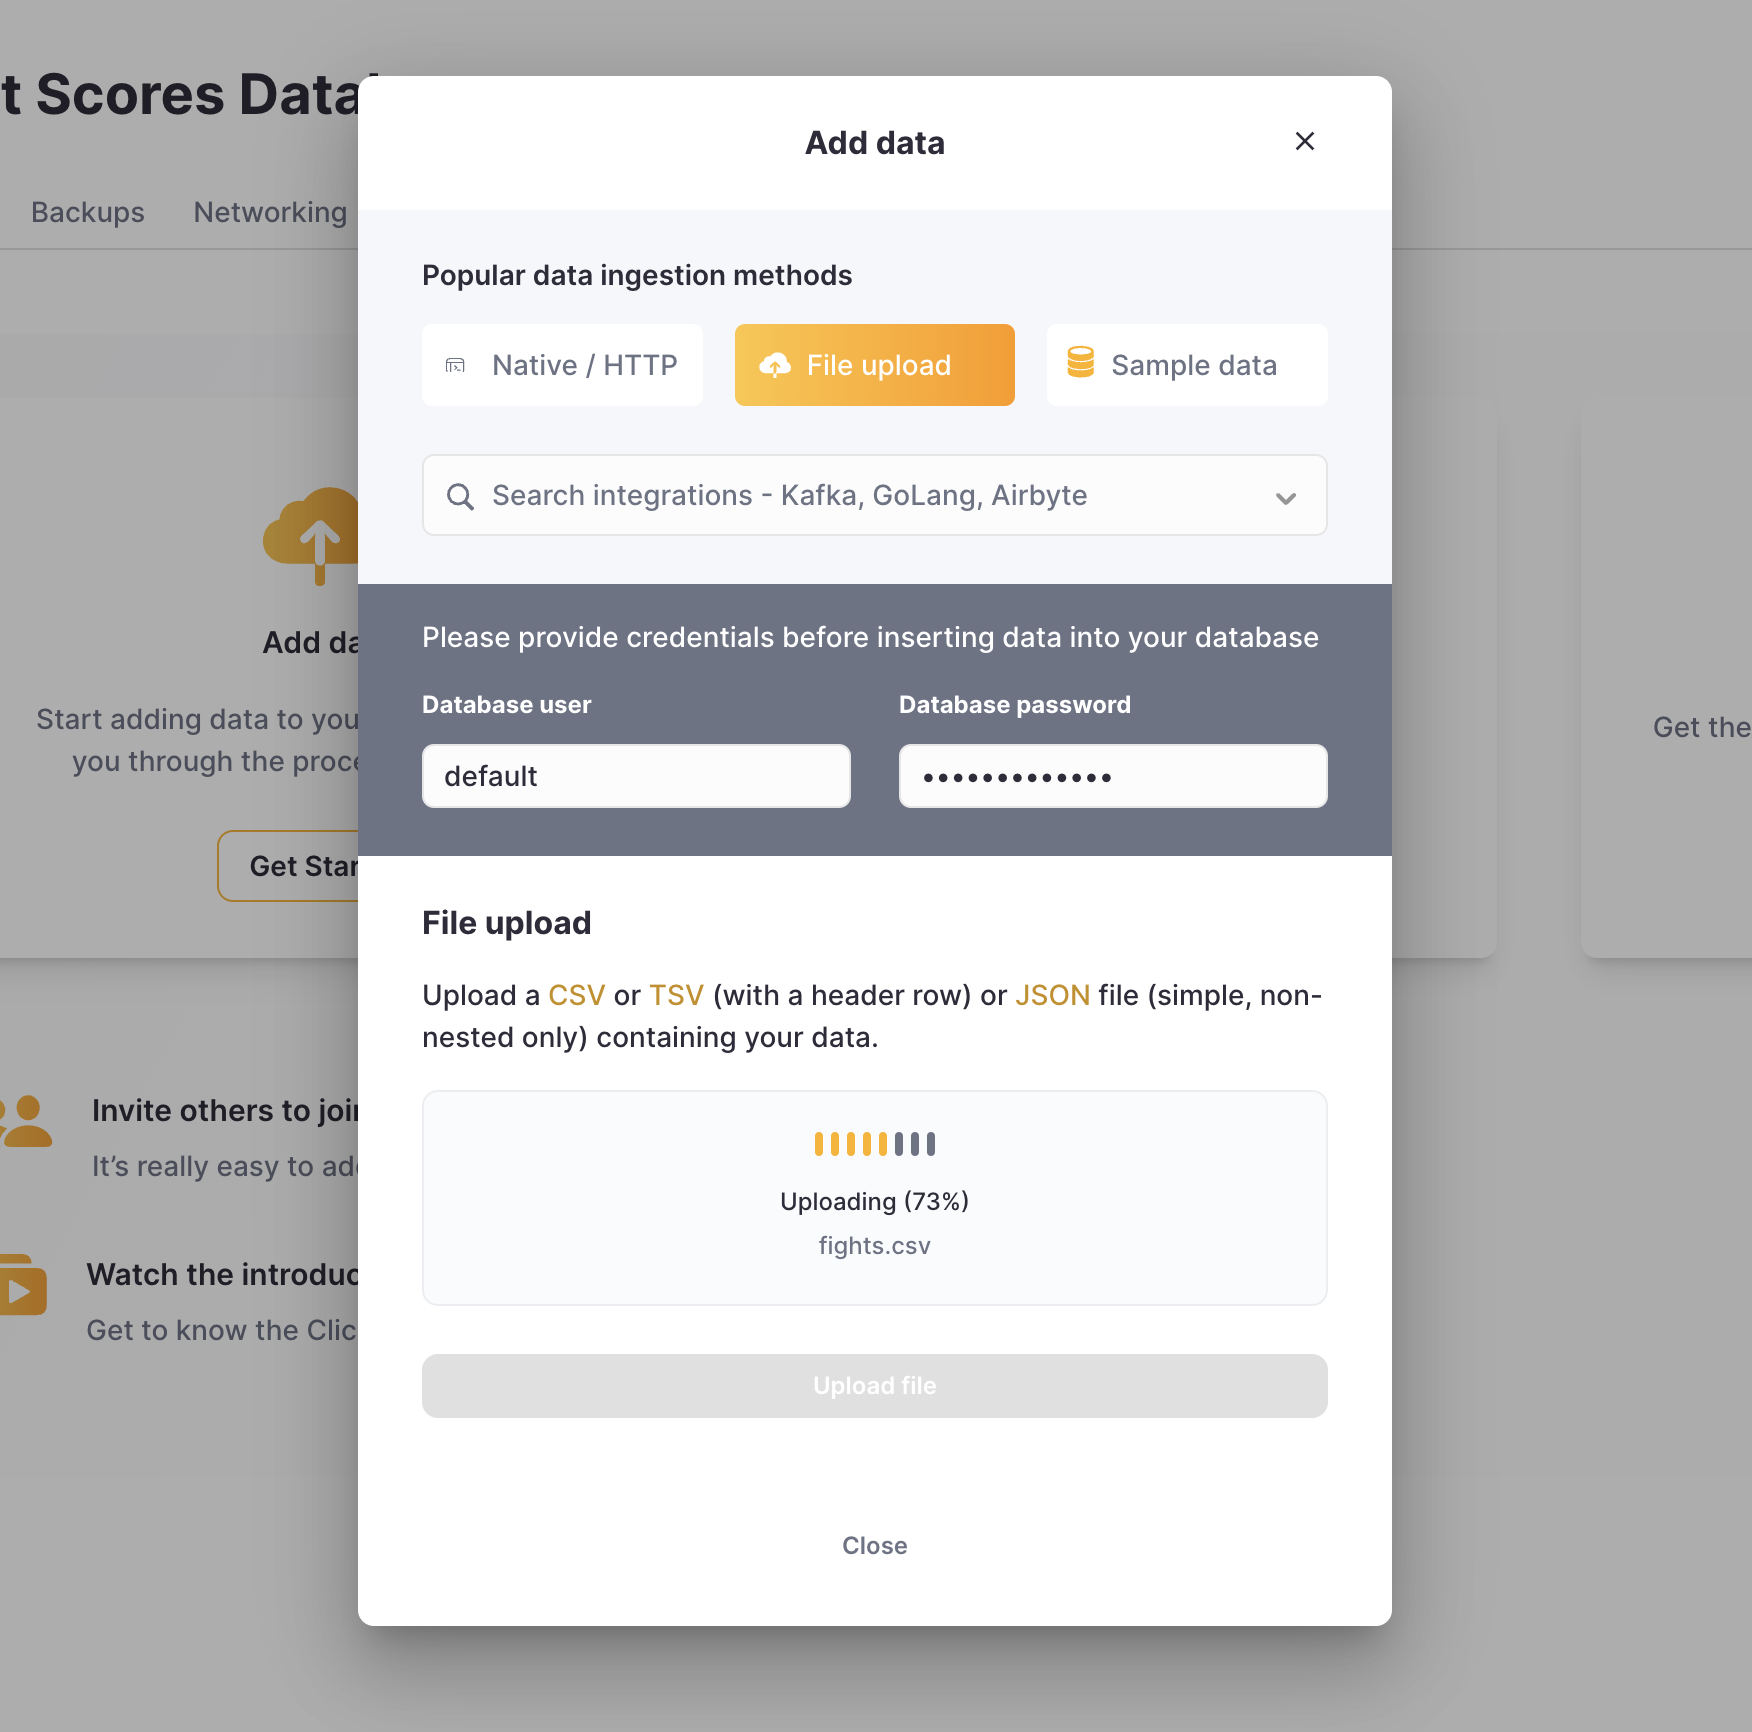
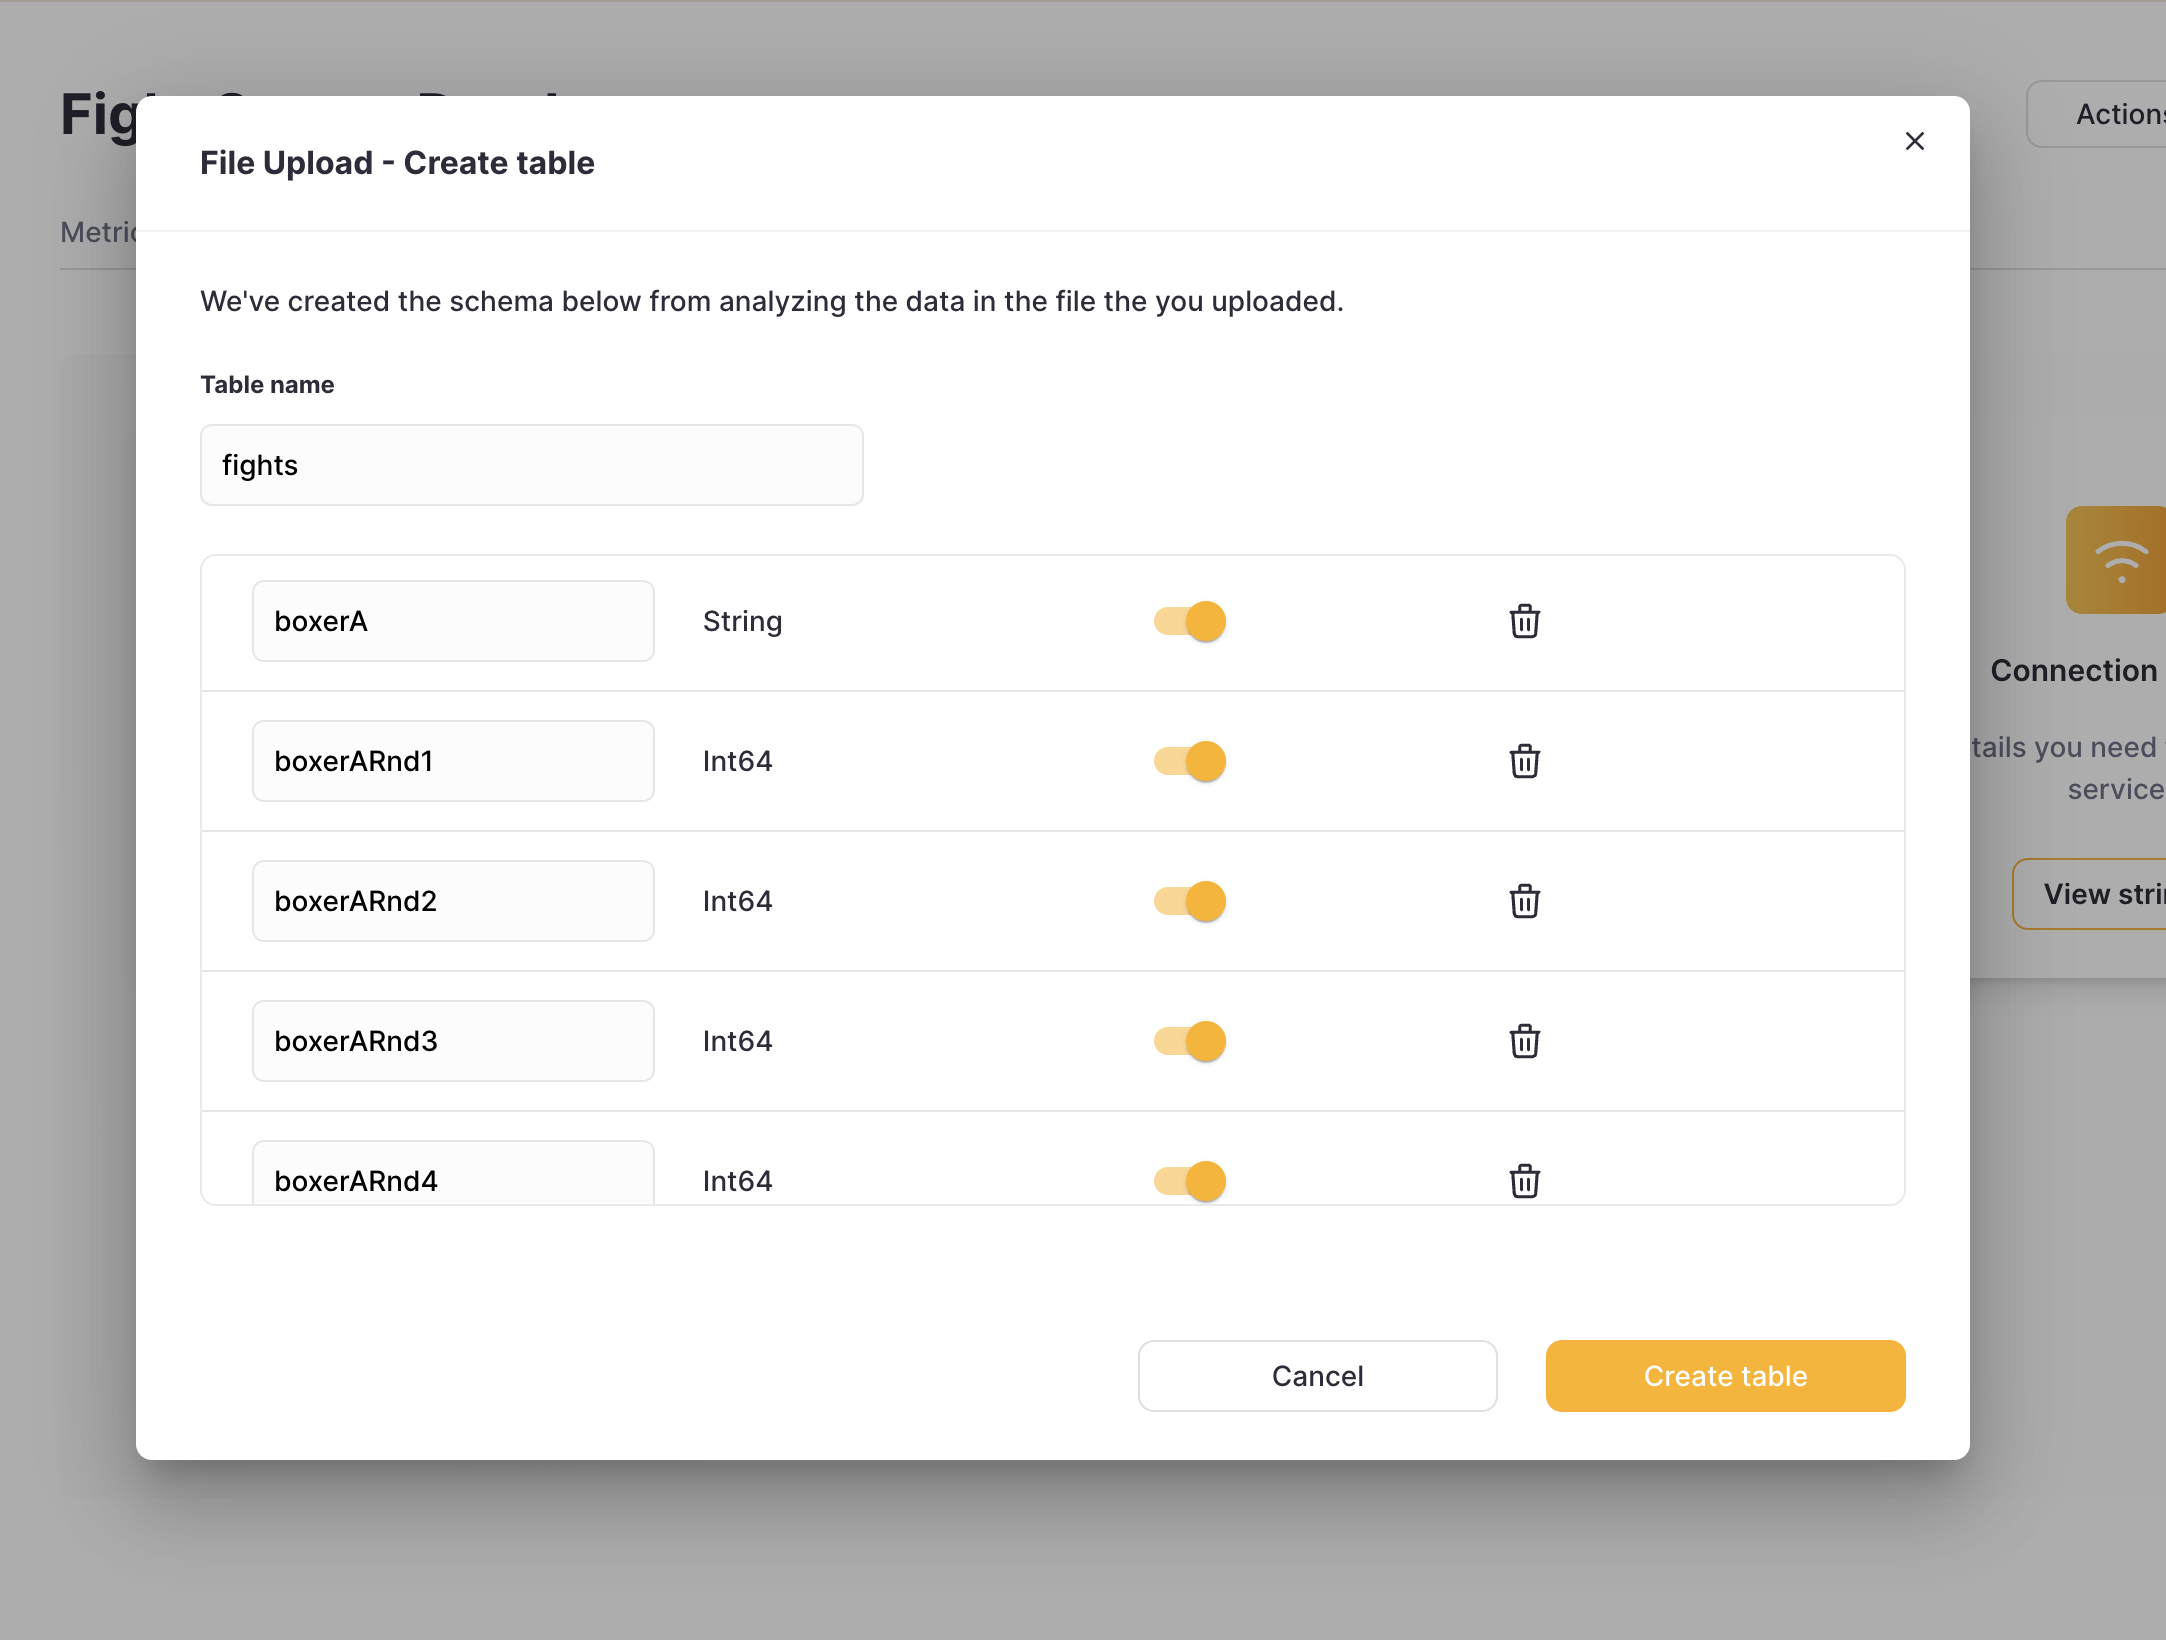
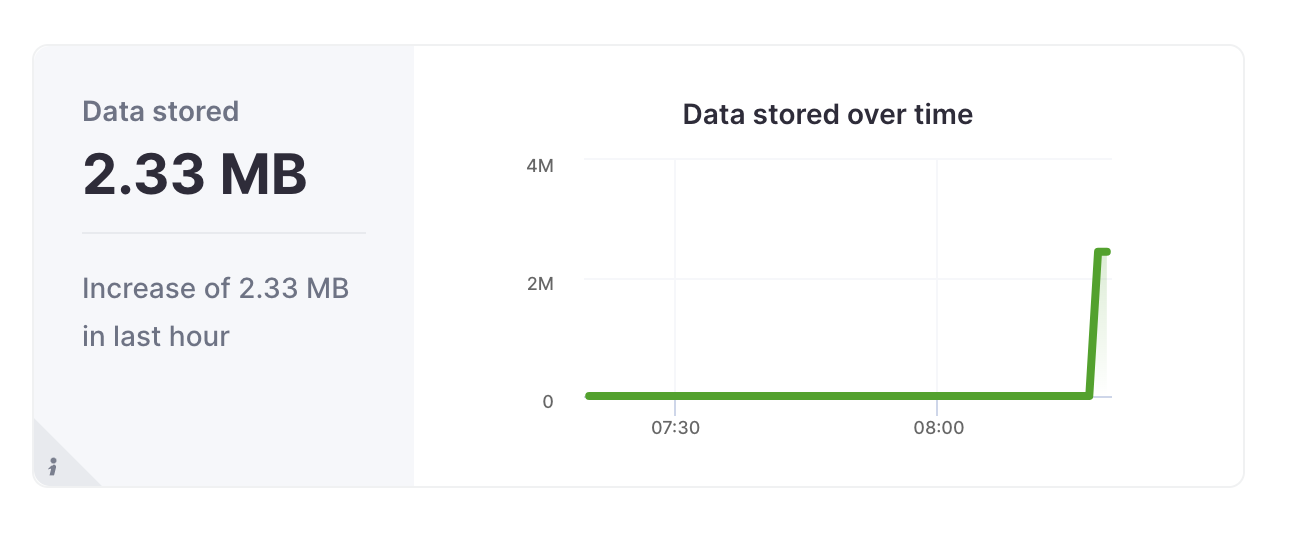
Once my service has been created, I click on the Add data tile and select the File upload option. Here I upload the fights.csv file that I created above. ClickHouse Cloud will automatically detect the schema from your file, which is pretty cool. Viewing the metrics tab, I can now see that my data has been successfully ingested.
5. Query those files in the built-in SQL console
Now that the data is confirmed in the service, I can head over to the SQL console that is built into ClickHouse Cloud and view the fights table data.
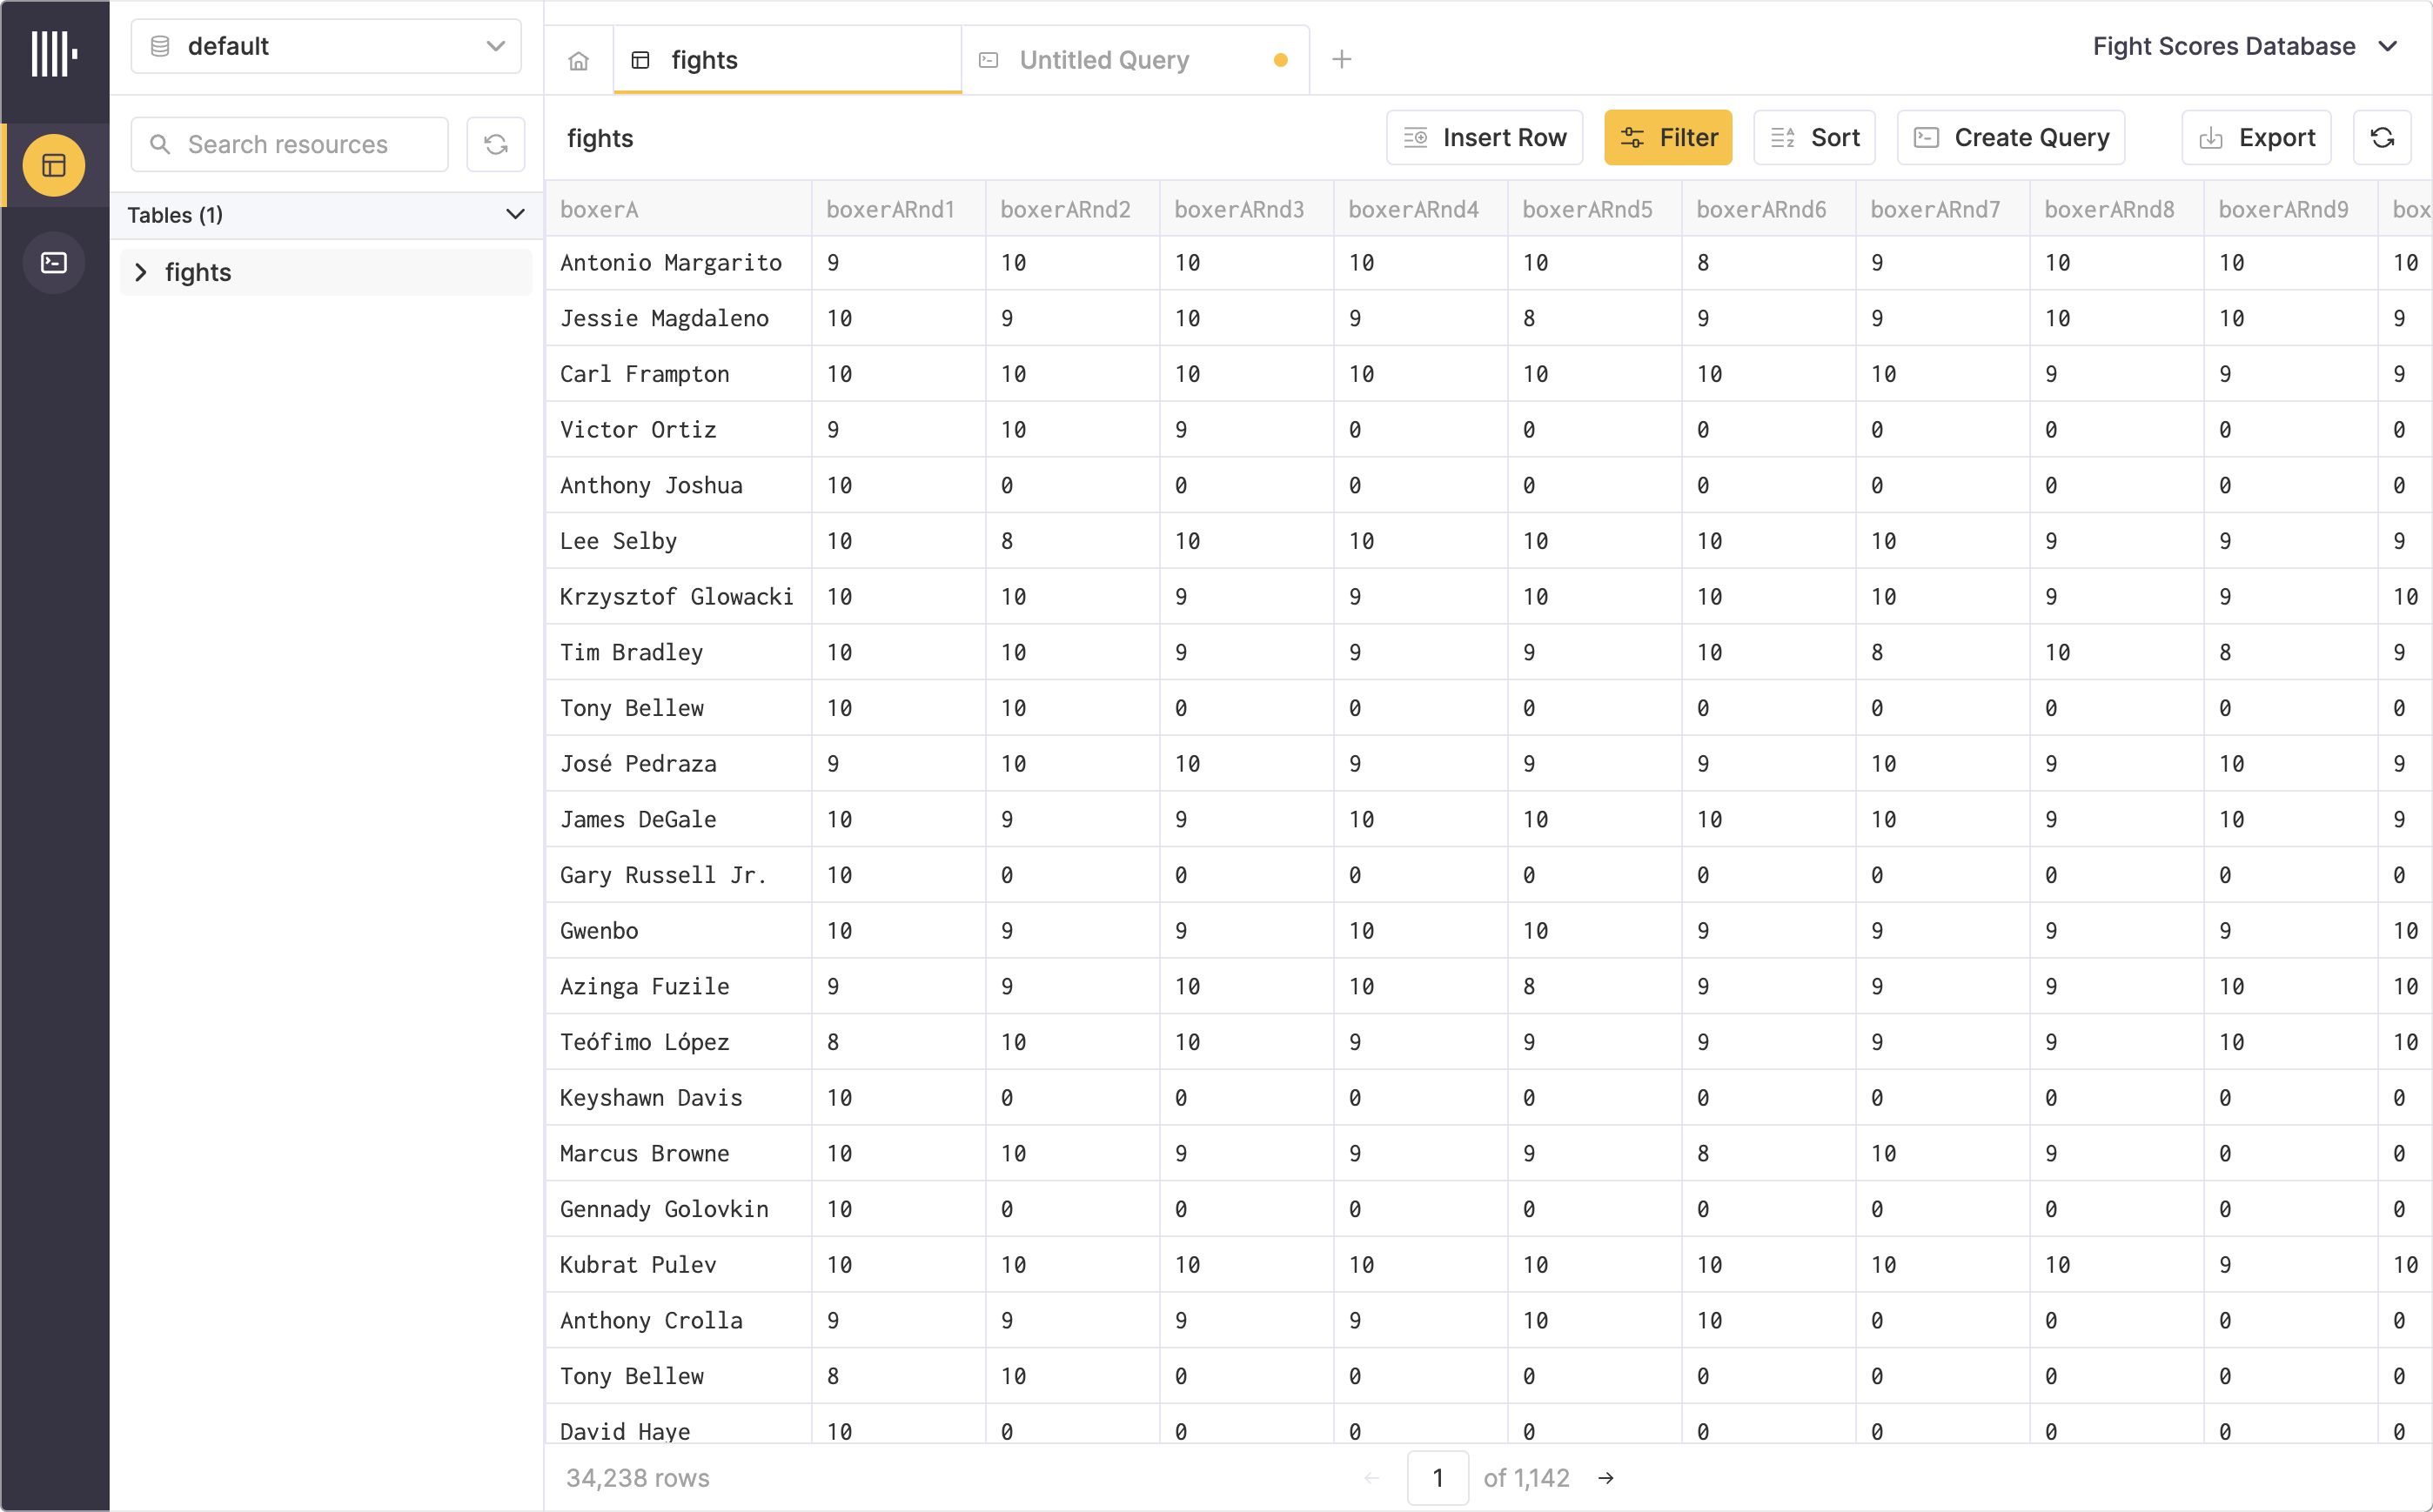
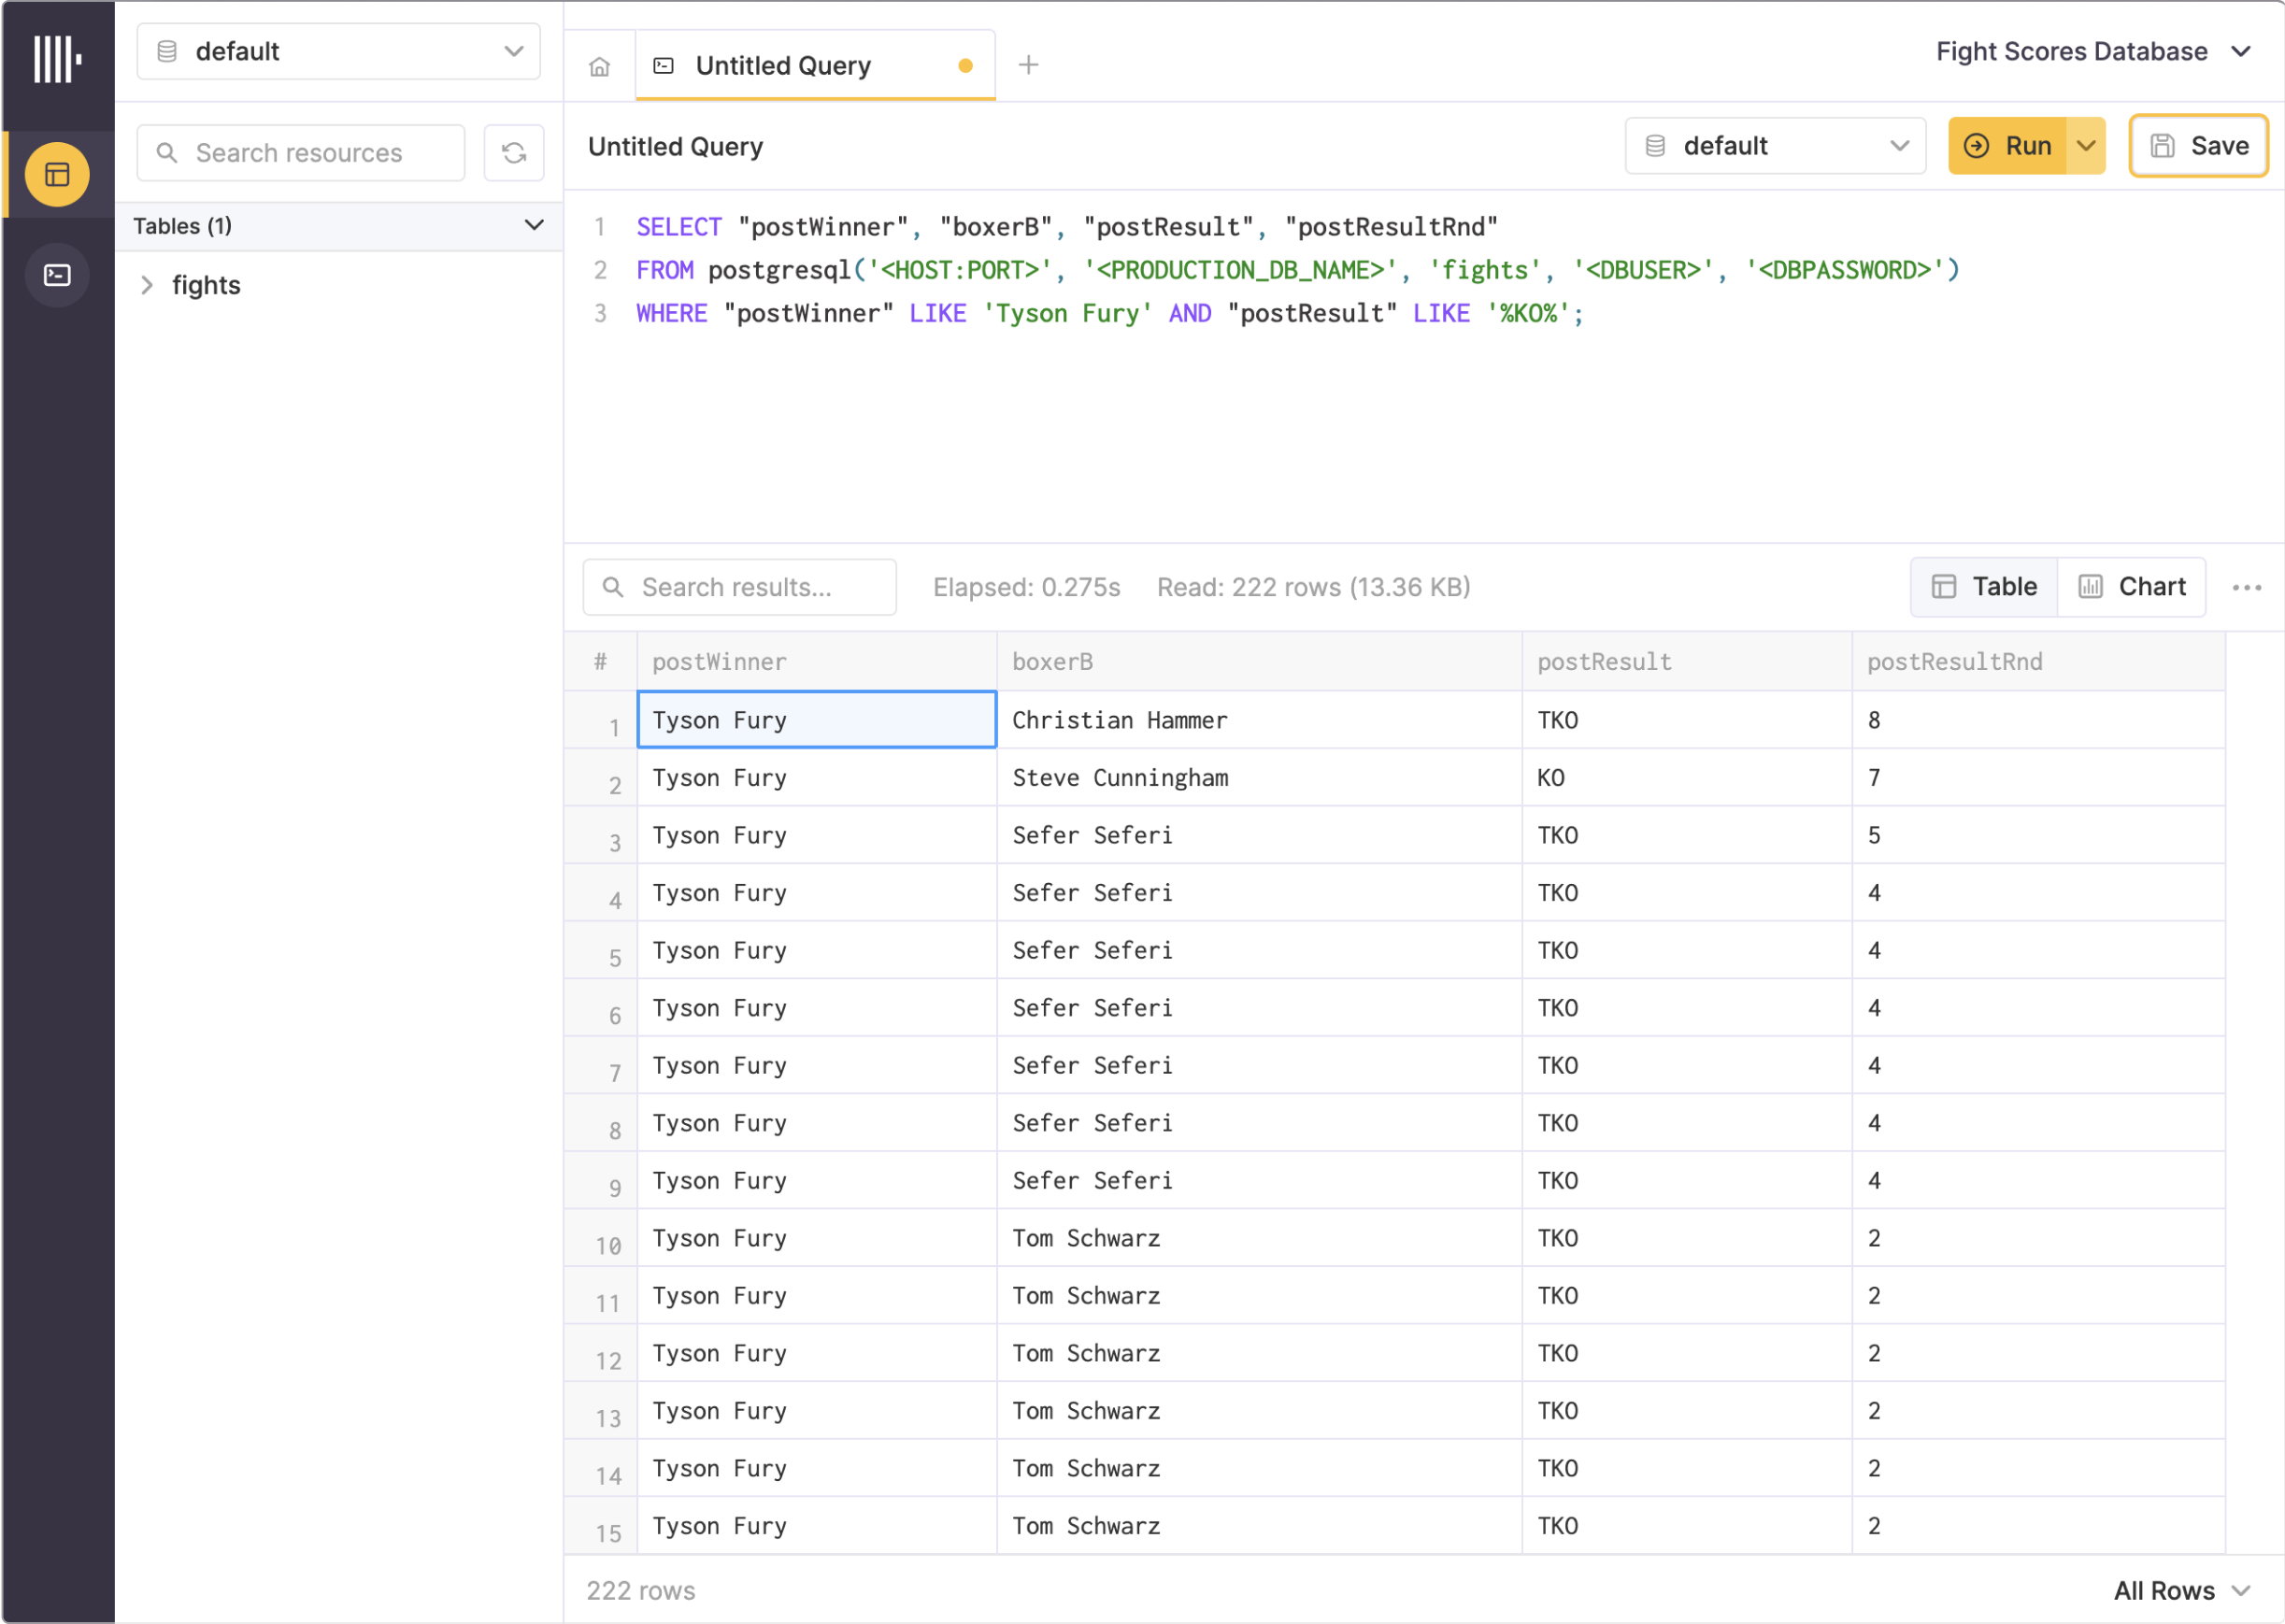
Great, lets finish up by running a basic query on this data. We'll search for all the fights that current heavyweight titlist Tyson Fury has won by knockout or technical knockout, and return the opponent and the round that he won.

So we've copied a table from a PostgreSQL database, converted it to CSV, inserted it into ClickHouse Cloud and run a basic query, all in just a few minutes. This is obviously not a meant as an indepth introduction to ClickHouse Cloud, if you are interested in that type of content, pop over to the ClickHouse blog where the team is doing a great job of writing up examples and common use cases.
Update: PostgreSQL function
If you wish to skip the first three bullets and jump straight into querying live data from your database in the SQL console, you can do that by creating a ClickHouse Cloud account, and using the PostgreSQL function. Be aware, you may need to update the entries in your pg_hba.conf to allow ClickHouse Cloud to connect.
Thanks!